Creating Image Viewers
Once UI Page Builder Blocks plugin is installed on your site, you will get a new Custom Post Type and Item in left menu called Image Viewers. Click Add New button to create an Image Viewer as shown in the following screenshot.
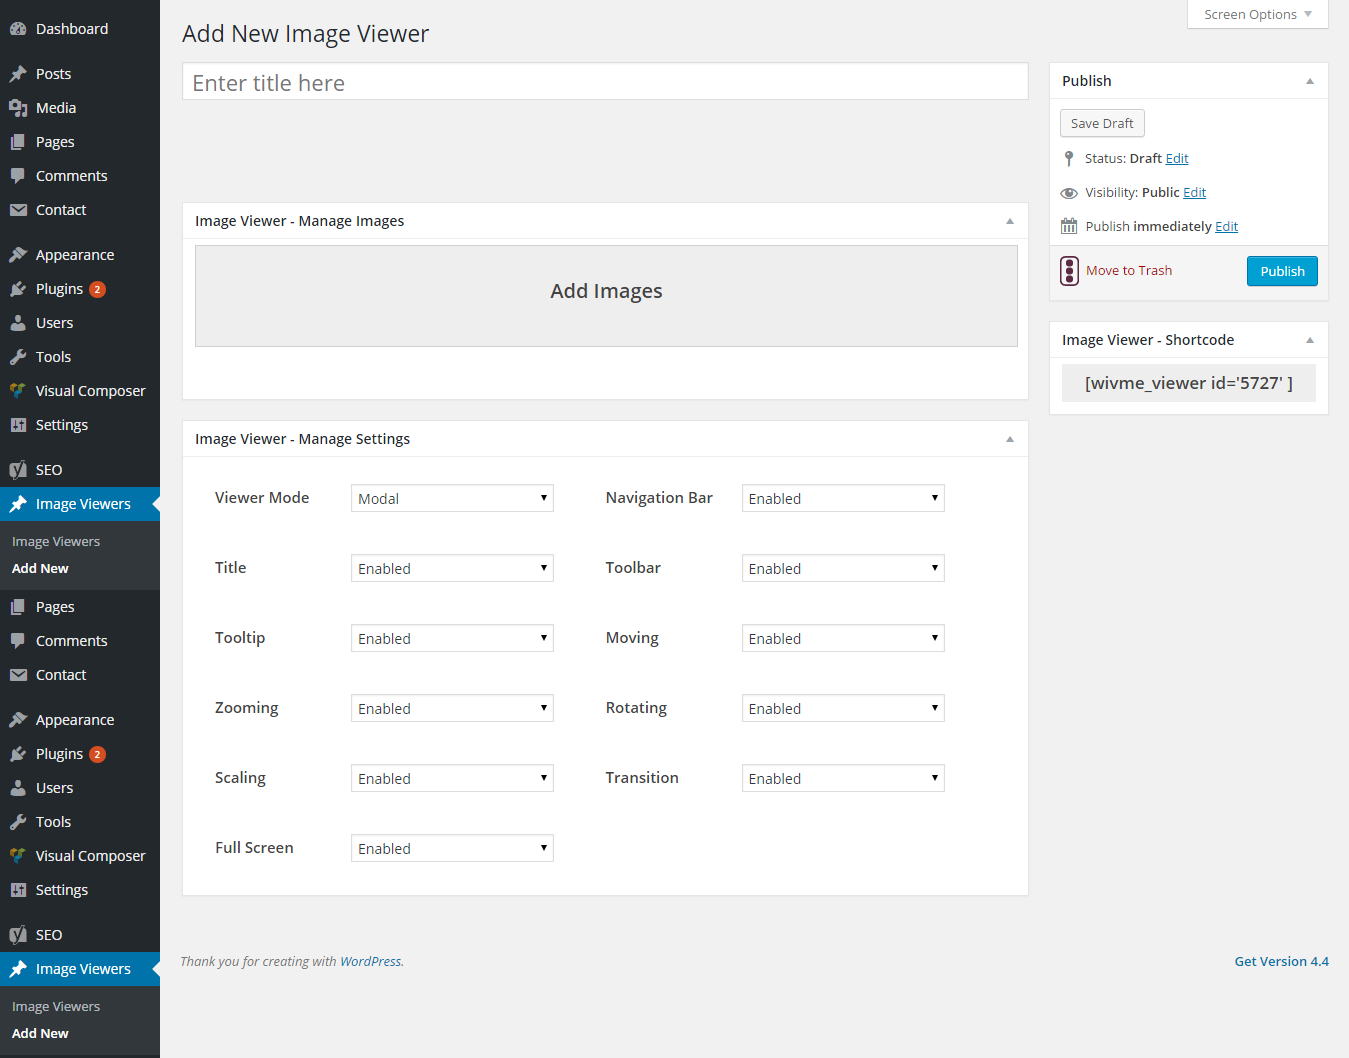
First, you have to enter a title to identify the Image Viewer. Next, you have to upload images to your Image Viewer. Click on the Add Images area and you will get the WordPress Media Uploader as shown in the following screenshot.
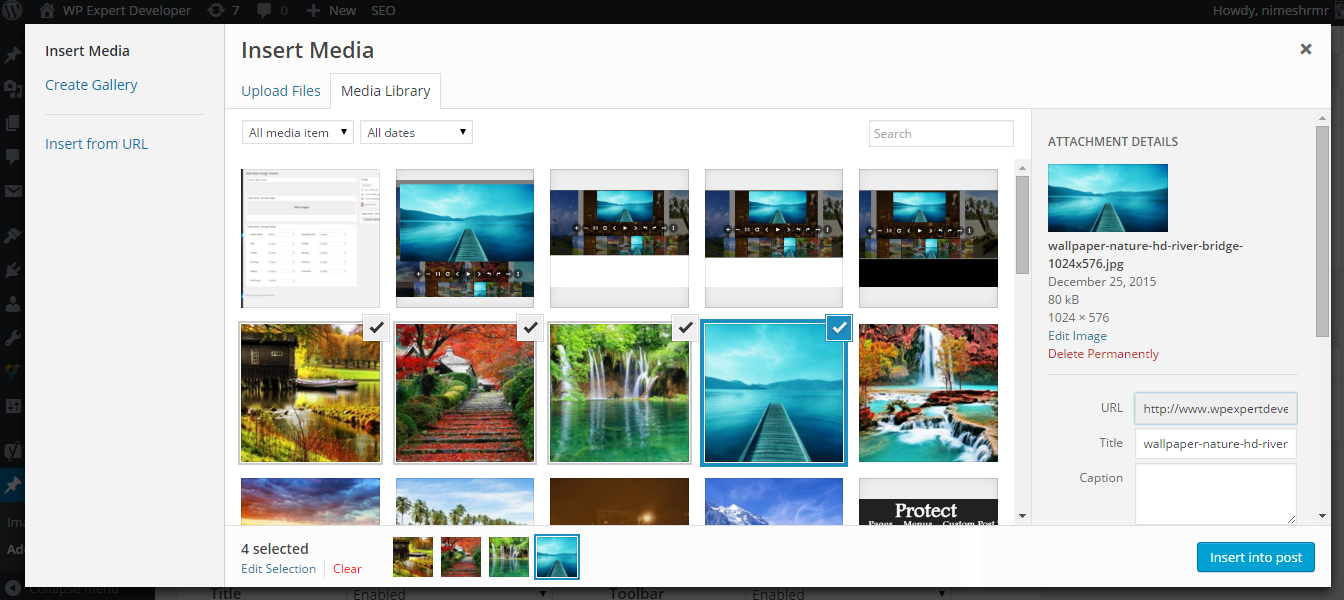
You can click the preferred images and click Insert into Post button to add the images to gallery. You can use the CTRL key to select multiple images at once. Once images are added, your Image Viewer will look similar to the following screenshot.
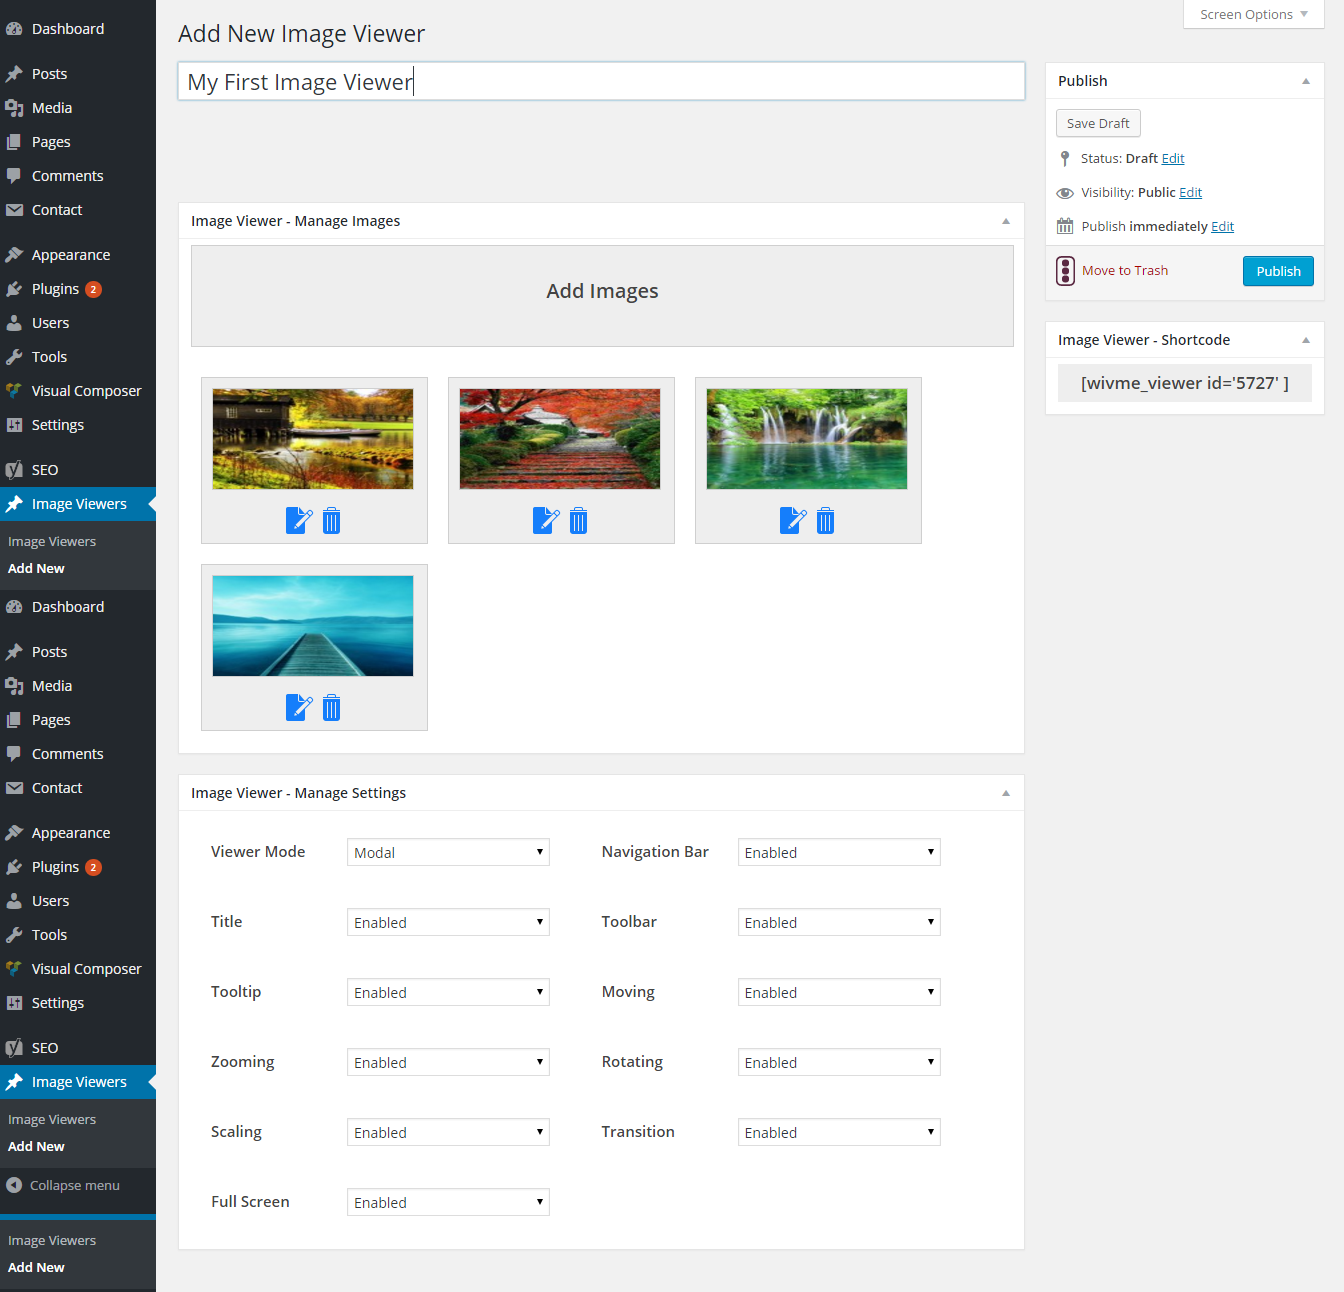
You can click Edit icon of added images to go back to media uploader and edit details of image. Delete icon allows you to remove images from Image Viewer. Also you can drag and drop the added images to change the order of images within the viewer.
Customize Settings for Image Viewer
Image Viewer – Manage Settings section allows you to configure different settings for different Image Viewers. Complete list of available features are enabled by default. You can use the settings section to limit the features based on your requirements. Let’s look at settings in detail.
- Viewer Mode – This setting is set to Modal by default and hence you will get a lightbox popup once clicked on image. All the features are provided in lighbox. You can set this setting to Inline to allow all the features within the Image Viewer container instead of using a popup lightbox.
- Navigation Bar – This setting is Enabled by default. You can set it to Disabled to hide the navigation bar with image thumbnails in the Image Viewer.
- Title – This setting is Enabled by default. You can set it to Disabled to hide the Title of images created by the Alt attribute.
- Toolbar – This setting is Enabled by default. You can set it to Disabled to hide the functions toolbar in the Image Viewer.
- Tooltip – This setting is Enabled by default. You can set it to Disabled to hide tooltips on zooming sizes in the Image Viewer.
- Moving – This setting is Enabled by default. You can set it to Disabled to prevent image moving in the Image Viewer.
- Zooming – This setting is Enabled by default. You can set it to Disabled to prevent image zooming in the Image Viewer.
- Rotating – This setting is Enabled by default. You can set it to Disabled to prevent image rotations in the Image Viewer.
- Scaling – This setting is Enabled by default. You can set it to Disabled to prevent image scaling in the Image Viewer.
- Transition – This setting is Enabled by default. You can set it to Disabled to prevent CSS transitions when scaling, flipping images in the Image Viewer.
- Full Screen – This setting is Enabled by default. You can set it to Disabled to avoid Full screen viewing in the Image Viewer. This settings is only supported when you have Viewer Mode set to Modal.