Creating Tag Restriction Rules
You will get a menu called WPPCP Tag Restrictions -> Restriction Rules to manage tag restrictions. Once menu item is clicked, you will get the tag restriction rules list table as shown in the following screenshot.
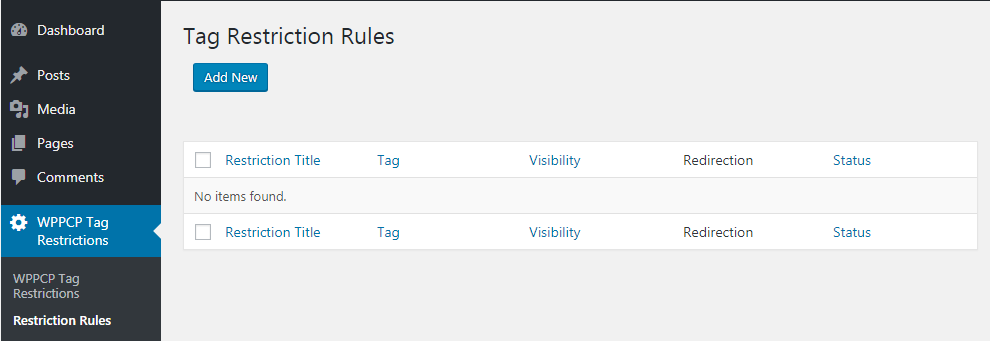
Then you can click on the Add New button to create your first tag restriction rule. The form for creating restrictions is shown in the following screenshot.
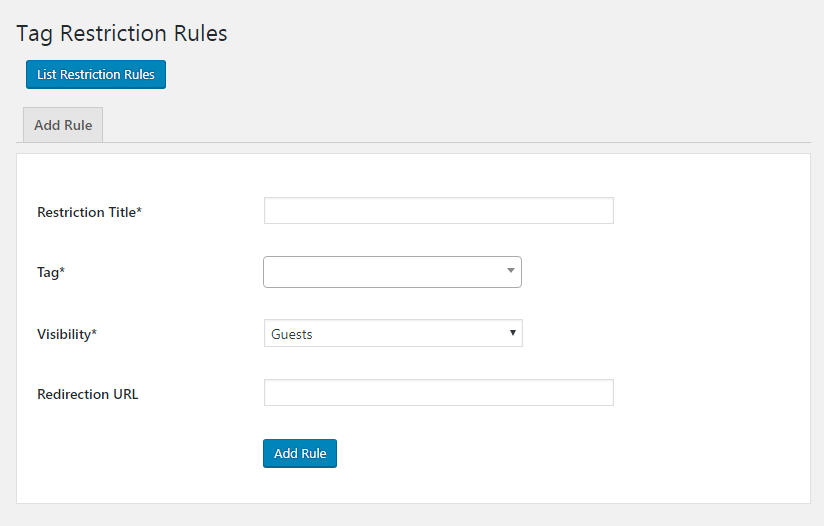
Let’s identify the available fields.
- Restriction Title – This is the name of the restriction, which allows you to identify the meaning of each restriction rule. You should use a meaningful title based on the tag restriction rule you create.
- Tag – This is the tag used for restricting posts. You should type the tag name and select one from the available list.
- Visibility – This field defines which users are allowed to see the posts from this tag. You have the option to use guests/members/ user roles.
- Redirection URL – This is the URL where user will be redirected when the user doesn’t have permission to view the tag.
Once created, you can click on the List Restriction Rules button to view all the tag restrictions.
Managing Tag Restriction Rules
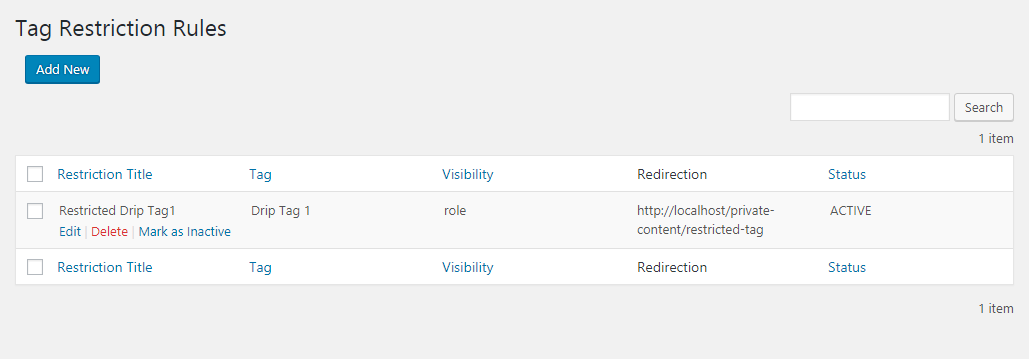
List of tag restriction rules created on your site will be displayed in the table. If you go to the restriction title in list, you will see 3 actions called Edit, Delete and Mark as Inactive. Let’s identify how to use these actions.
- Edit – Once you click on this link, you will be redirected to restriction rules form with existing values. Then you can modify the values and update the restriction rule with different conditions.
- Delete – Once you click on this link, you will be asked to confirm the deletion of the restriction rule. Once its confirmed, rule will be removed from your list
- Mark as Active / Inactive – You will see a column called Status for all the restriction rules. Only the rules with Active status will be checked and rules with Inactive status will be ignored when viewing a post. You can use this option to temporarily activate/deactivate any given restriction rule.