Adding Private Content Element
Once Ultimate Elements – Elementor Page Builder plugin is installed on your site, you will get a new element in Elementor called Private Content in a new category called Ultimate Elements as shown in the following screenshot

You can drag the element into the Elementor page builder to make the content private. Once Private Content element is created, you will have a screen similar to the following.
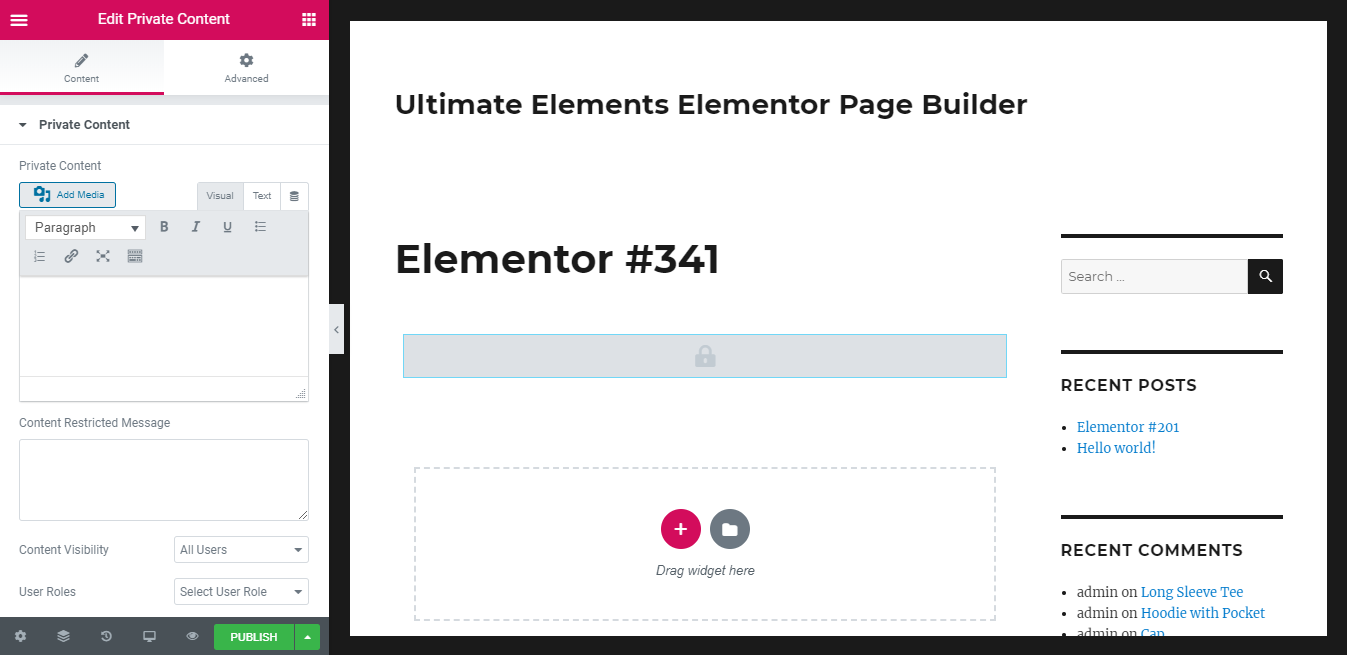
Use the Private Content text editor field to add the entire content you want to protect. Then you can adjust the settings of the element. Let’s identify the available settings.
- Content Restriction Message – This setting is used to set the message to display when the user doesn’t have access to the content.
- Content Visibility– This setting is used to define the type users allowed to see the restricted content. The available options are:
- All – content will be visible to any user
- Guests – content will be only visible to users who are not logged into the site
- Members – content will be only visible to users who are logged into the site
- User Roles – content will be only visible to the users with the role specified for this setting.
- User Roles – This setting defines user roles allowed to access the content. The value of this setting will be only used when the visibility is set as User Roles for the Content Visibility setting.
Once element is saved, you will see the content on the text editor or the restriction message based on the type of user viewing the content.