Adding WooCommerce Category List Element
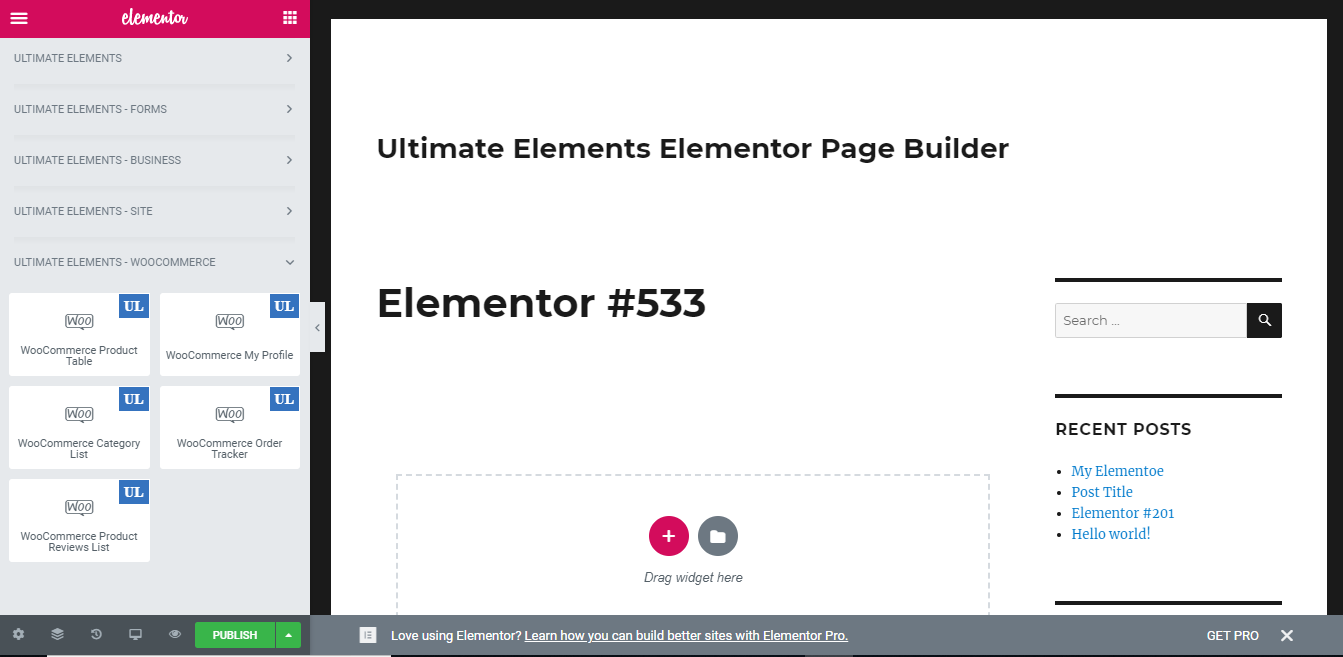
Once Ultimate Elements – Elementor Page Builder plugin is installed on your site, you will get a new element in Elementor called WooCommerce Category List in a new category called Ultimate Elements – WooCommerce as shown in the following screenshot
This element allows you to display the default WooCommerce Category List using the built-in shortcode. Once the element is added, you will get a screen similar to the following.
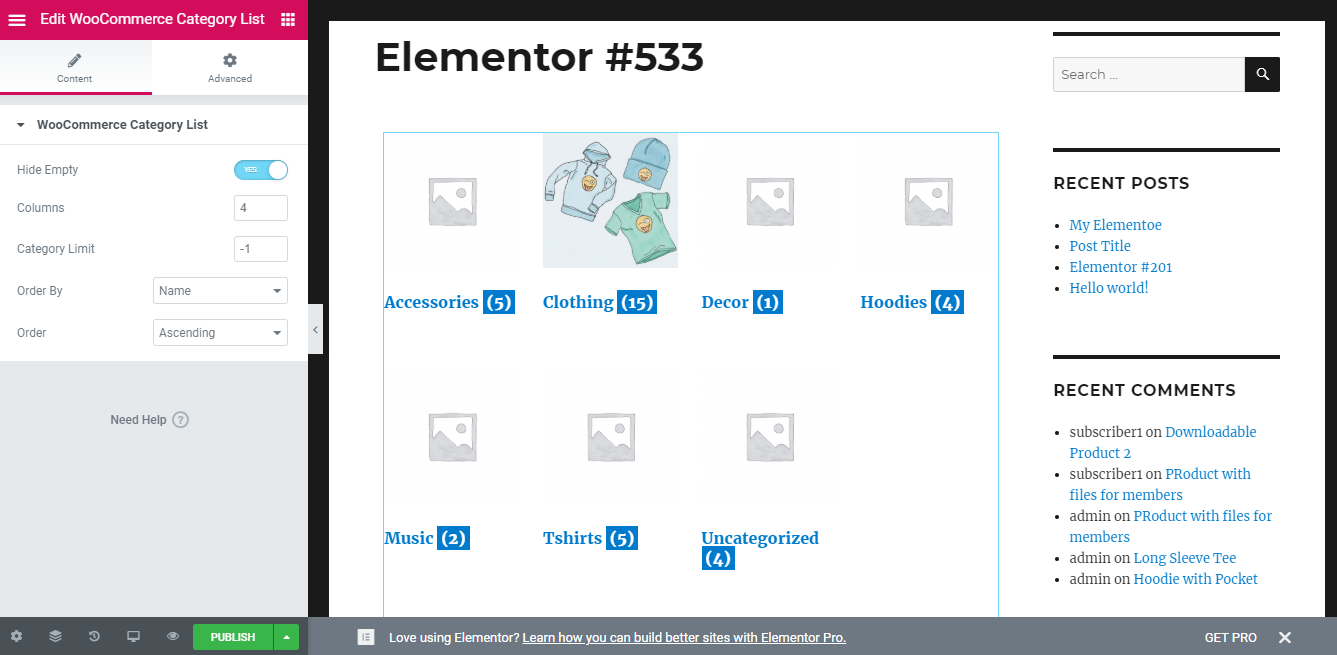
Let’s identify the available settings.
- Hide Empty – This setting is used to hide catgories which are not associated with any of the WooCommerce products. By default, this will be set to Yes and empty categories will be hidden. You can set the value to No to display all the WooCommerce categories in the site.
- Columns– This setting is used to define the number of products per single row. By default it’s set to 4. You can change it to any value based on your preferences.
- Category Limit – This setting defines the number of categories to be displayed in the list. Default value is set as -1 for displaying all categories. You can change the value to any numeric value.
- Order By – This setting defines the field used for ordering the categories. By default, it’s set to Category Name. Other available options are ID, Slug and Menu Order.
- Order – This setting is used to define the order of elements as Ascending or Descending based on the OrderBy field. By default it’s set as Ascending.
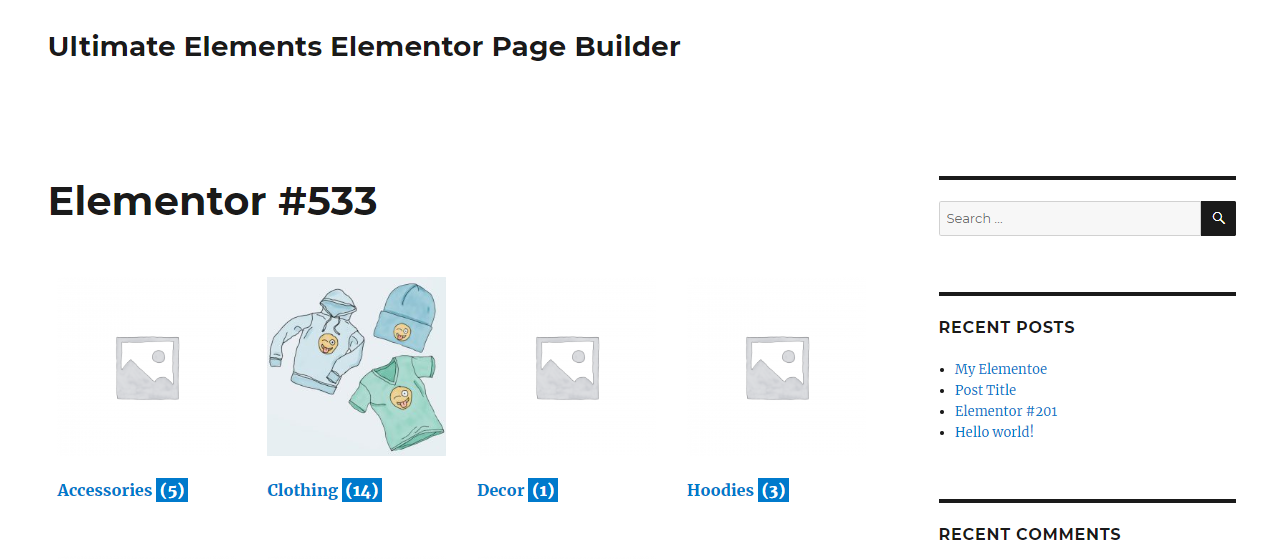
Once the settings are changed you can click the preview icon or view the page on the frontend to view the woocommerce category list as shown in the following screenshot.